Carrot Cake - WSM. Whether you want a carrot cake that's dense, moist and full of spice and nuts, or you like Try Rachel Allen's easiest carrot cake loaf for afternoon tea, Dan Lepard's carrot cake cupcakes for Easter, or. A truely great carrot cake packed full of raisins and wanuts and topped with delicious cream cheese Recipe Tips. Before frosting, carrot cake will keep for a week and can be frozen for up to a month.
 I like to hand grate my carrots since I prefer the. This Carrot Cake is wonderfully moist, tender and easy to make! It's covered in cream cheese frosting for a perfect, classic cake! Carrot Cake - WSM very diverse and own mind flavor that unique. Several types of Carrot Cake - WSM recipes are also adequate easy to process and dont pick up lengthy. Though not everybody likes Carrot Cake - WSM food, currently few people are get attached and like the sundry Carrot Cake - WSM foods available. This could be seen of the number of restaurants that supply Carrot Cake - WSM as one of the dish. You can have Carrot Cake - WSM using 16 ingredients and 4 steps. Here is how you achieve it.
Ingredients of Carrot Cake - WSM
- Prepare 225 ml of Sunflower oil.
- Prepare 225 gr of light muscovado sugar Or Any Light Brown if cannot get it.
- Prepare 4 of medium eggs.
- You need 225 gr of self-raising flour.
- It's 1 tsp. of bicarbonate of soda.
- Prepare 1 tsp. of each mixed spice, ground cinnamon, ground ginger & ground nutmeg.
- It's 150 gr of sultanas OR 100 gr Sultanas and 50 gr Dried Mixed Fruit.
- Prepare 200 gr of carrots, coarsely grated.
- You need 50-75 g of walnuts or pecans or almonds (or mix), roughly chopped.
- Prepare of For Icing.
- It's 250 gr of unsalted butter, very soft.
- It's 1 tsp. of vanilla extract.
- You need 1 tsp. of Orange or Lemon extract (optional).
- You need 400 gr of full-fat cream cheese, at room temperature.
- Prepare 300 g (11 oz) of icing sugar.
- You need of Any Silly Decorations that make you smile - of course Marzipan Carrots if you can get :).
This truly is the best carrot cake recipe! It's perfectly moist and delicious, made with lots of fresh carrots, and topped with the most heavenly cream cheese frosting. This Carrot Cake with pineapple and coconut is a family favorite, made every year for all sorts of celebrations from birthdays to Easter! Originally from the Silver Palate cookbook, we've made several.
Carrot Cake - WSM step by step
- Preheat oven to 170°C (150°C fan) mark 3. Grease and line the base and sides of a round 20.5cm (8in) cake tin with parchment paper. Put the oil, sugar and eggs into a large bowl and whisk together until smooth. (I used a food processor with the Cake / Bread attachment and pulsed).
- Add the flour, soda and spices to the bowl and mix to combine. Stir in the sultanas, carrots and nuts. Scrape mixture into the prepared tin, level and bake for 1hr 5min-1hr 15min or until a skewer inserted into the centre comes out clean. Leave to cool for 5min in tin, then remove from tin and leave to cool completely on a wire rack.
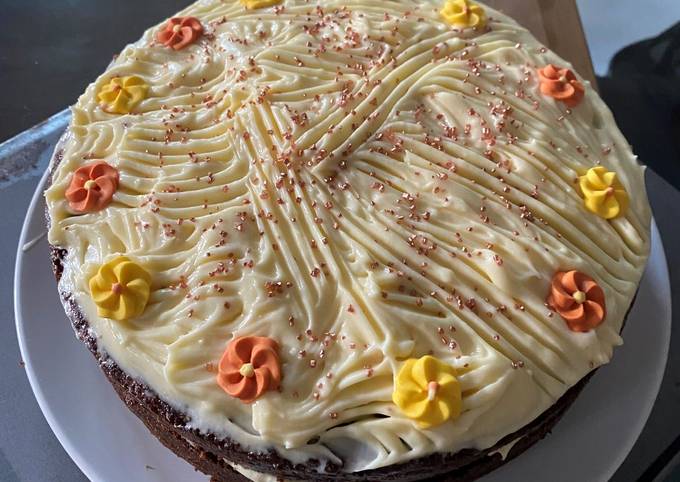
- To make the icing, in a large bowl beat the butter and vanilla until completely smooth, then add the room-temperature cream cheese and mix to combine. Sift over the icing sugar and mix (carefully at first, as otherwise there will be clouds of icing sugar) until smooth and fluffy.
- Cut the cooled cake in half horizontally through the middle. Use half the icing to sandwich the halves back together and place cake on a cake stand/plate. Spread remaining icing over top of the cake and lay on the carrot decorations, if using. Serve in slices..
Tastes just like carrot cake when you add the yogurt just not as sweet as the real think. This cake was inspired by a generations-old family recipe — you can't beat that. Classic old-fashioned carrots cake often include pineapple. While ours doesn't include any, this recipe works well. With a hint of cinnamon, soft crunch from nuts, ultra moist crumb and piled high with the This Carrot Cake is from a reader, the lovely Dorothy of Tennessee in the States, a long-time.
Obtain ingredients for manufacture Carrot Cake - WSM recipes is also not difficult. You can easily get the main ingredients at the proximate supermarket and indeed on the market. There are ample types of Carrot Cake - WSM that are easy and fast to process into delicious dishes. You can constantly practice this Carrot Cake - WSM recipe at home, and can provide it to your children and extended family. If you wish to cook other foods on our website, we provide various types of food recipes which are of certainly very delicious and enjoyable to enjoy, please try they.
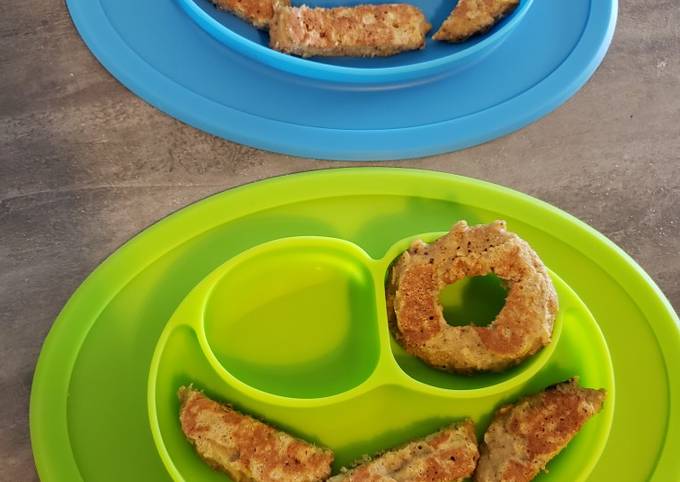 BLW Oat Pancakes highly diverse and have mind flavor that unique. Several types of BLW Oat Pancakes recipes are also adequate easy to process and do not pick up lengthy. Though not everybody likes BLW Oat Pancakes food, currently several people are got attached and like the various BLW Oat Pancakes foods on hand. This can be seen from the number of restaurants that provide BLW Oat Pancakes as one of the dish. You can cook BLW Oat Pancakes using 15 ingredients and 8 steps. Here is how you achieve that.


")


